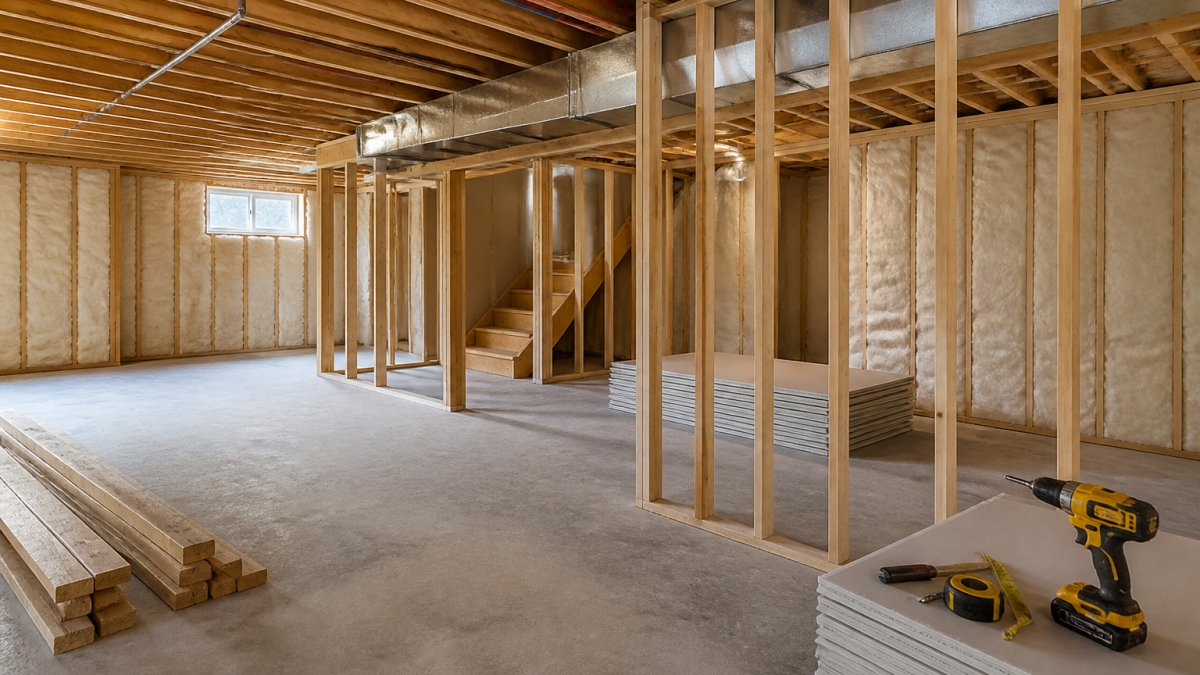
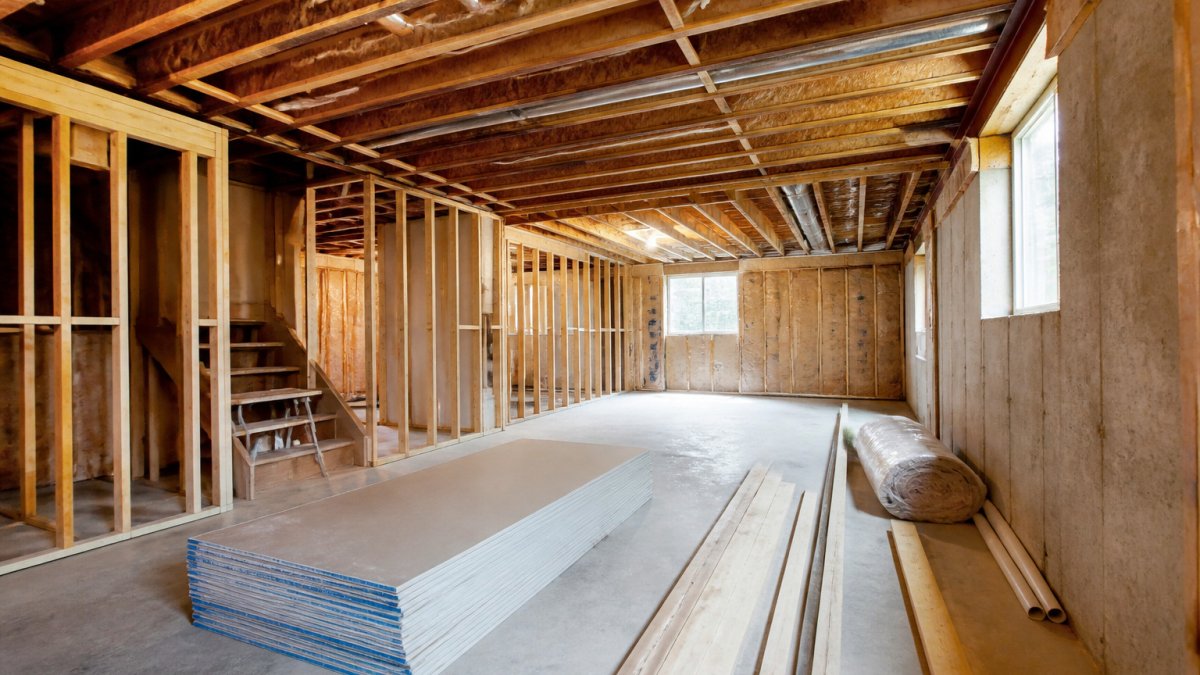
 how-to
How to Finish an Unfinished Basement: 7 Steps
Last Updated: October 30, 2026
Quick Summary
Start with a moisture diagnosis, since water problems ruin finished basements, then plan permits, egress and room layout before framing. Lock those decisions first, and the rest of how to finish an unfinished basement goes far more smoothly.
- Diagnose moisture first by checking stains, efflorescence, and taping plastic to the slab for 48 hours.
- Confirm permit and inspection requirements with your building department before buying materials.
- Any bedroom needs an egress window, so plan its location before framing and drywall.
- Lock moisture strategy, egress location, and bathroom plumbing before framing to avoid costly rework.
- Get itemized bids by category and keep a contingency reserve for hidden moisture or code upgrades.
Table of Contents
- Assess the Basement and Diagnose Moisture Before You Plan
- Basement Finishing Checklist: Permits, Codes and Egress Requirements
- How to Frame Basement Walls and Define Rooms
- How to Insulate Basement Walls and Run Utilities
- Basement Finishing Timeline and Budget Decisions
- Booking Your Basement Project With Basements.com
- Frequently Asked Questions
Assess the Basement and Diagnose Moisture Before You Plan
Learning how to finish an unfinished basement starts with a hard look at water, not paint colors. Many basement projects go sideways when moisture is ignored until drywall is already up.
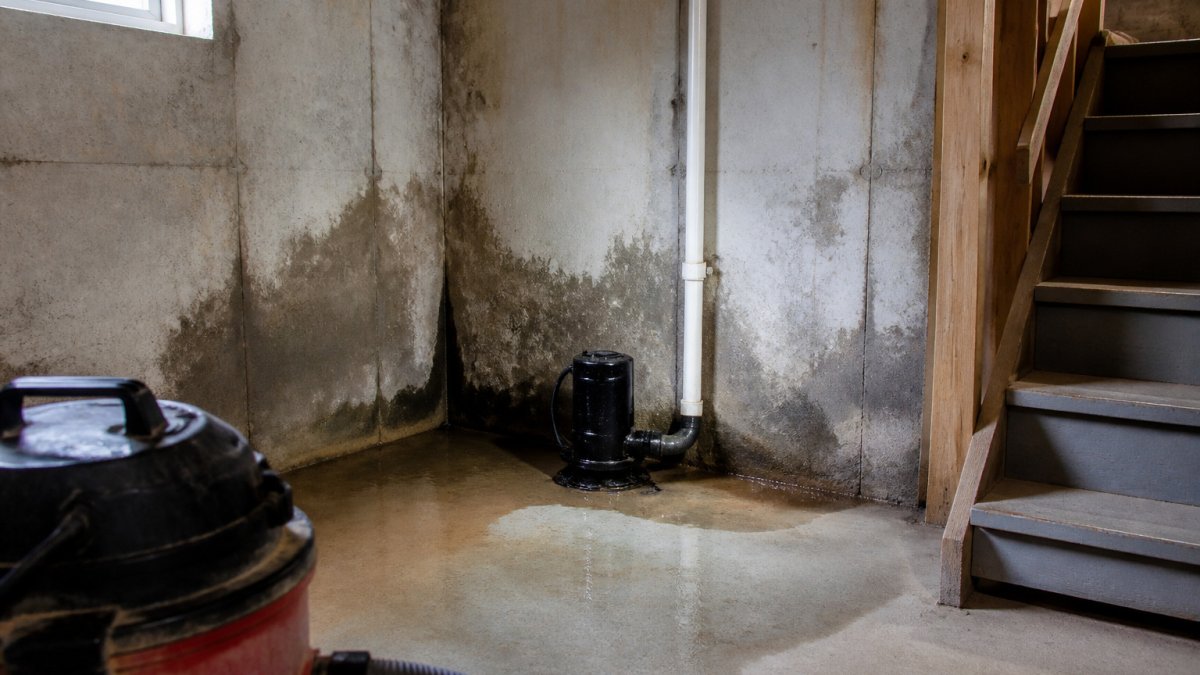
Walk the perimeter and note any stains, efflorescence (the white chalky residue on concrete), peeling paint, or a musty smell. A step-by-step guide to fixing basement moisture problems walks through each fix in order.
Checking for Water Intrusion and Condensation
Water and condensation look similar but have different causes. Water intrusion comes from outside, while condensation forms when warm, humid indoor air meets cold concrete.
Try these simple checks:
- Tape a square of plastic sheeting to the concrete floor and leave it for 48 hours. Moisture under the plastic means the slab is wet from below.
- Look at the top of the wall where it meets the floor joists for dark staining.
- Check the grading outside. Soil that slopes toward the house sends water toward the foundation.
Watch out: Sealing a wall that still lets water in traps moisture behind the finish and can lead to mold. Fix the source first.
Checking Structural and Foundation Conditions
Cracks are common, but not every crack is a problem. Hairline cracks in concrete are often cosmetic, while horizontal cracks, wide cracks, or walls that bow inward need a professional opinion before framing begins.
Note any sagging beams, sticking doors, or sloped floors. These point to structural issues that must be addressed first.
Basement Finishing Checklist: Permits, Codes and Egress Requirements
Before buying a single stud, confirm what your local building department requires. Permit rules and code requirements vary by city and county, so call your building department early and confirm the details for your project. Ask three specific questions: which trades need separate permits, which inspections are required and at what stages, and whether the work triggers any energy-code requirements for insulation and windows.
What Usually Requires a Permit
Most jurisdictions require permits for structural work, new or altered electrical circuits, plumbing rough-in and fixtures, HVAC additions or extensions, and framing that creates new rooms. Cosmetic work, paint, carpet, trim, typically does not. Finishing a basement often touches several trades at once, so a single combined permit or a set of trade permits is common. Confirm whether your jurisdiction allows a homeowner to pull permits for their own residence or requires a licensed contractor.
Code Items That Affect Layout and Budget
- Ceiling height. Residential codes set a minimum ceiling height for habitable rooms, with allowances for beams, ducts, and soffits. Confirm the exact figure with your local building department. Measure from the slab to the bottom of the joists before you plan rooms, low ducts and beams can force soffits that lower usable height.
- Egress for sleeping rooms. Any room used as a bedroom needs at least one emergency escape and rescue opening. In a basement that usually means an egress window with a window well, sized to meet the code's minimum clear opening, with a sill height that allows escape and a well that provides clearance. Egress affects framing, foundation cutting, drainage in the well, and budget, plan it before walls go up.
- Smoke and carbon monoxide alarms. Finished basements typically need smoke alarms in sleeping rooms and adjacent areas, interconnected with the home's alarm system, plus carbon monoxide alarms where fuel-burning appliances or attached garages create a risk. Confirm interconnection and location requirements with your inspector.
Inspection Sequence to Plan For
Expect inspections at these rough-in stages, before walls are closed:
- Foundation or moisture remediation, if structural work was done.
- Framing, including egress opening and window well.
- Electrical rough-in, plumbing rough-in, and HVAC rough-in, often separate inspections.
- Insulation and vapor retarder.
- Final inspection after finishes, fixtures, and alarms are installed.
Build inspection scheduling into your timeline. A failed rough-in inspection stops drywall and pushes every later phase.
How to Frame Basement Walls and Define Rooms
Framing turns an open space into rooms. Most basement walls are built with 2x4 studs set 16 inches on center, with a pressure-treated bottom plate attached to the concrete floor.
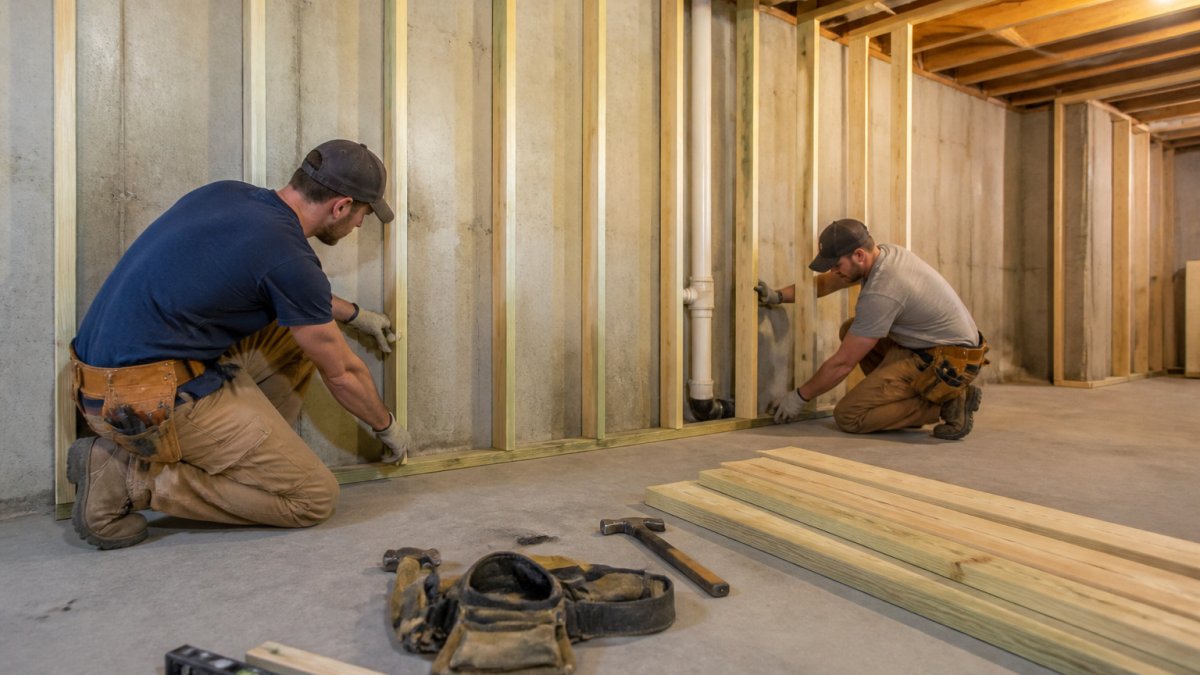
Here is the general sequence:
- Snap chalk lines on the floor to mark each wall.
- Attach pressure-treated bottom plates with concrete anchors or powder-actuated fasteners.
- Build wall sections flat on the floor, then tilt them into place.
- Plumb each wall and secure the top plate to the joists above.
- Frame doorways with headers sized for the opening.
Leave clearance between the framing and exterior walls so you can insulate and inspect the foundation.
How to Insulate Basement Walls and Run Utilities
Insulation keeps the space warm and reduces condensation. Rigid foam board applied directly to the concrete is a common choice because it resists moisture better than fiberglass batts.
Plan utilities before you close the walls:
- Run electrical wiring and add enough circuits for lighting and outlets.
- Route plumbing lines if you plan a bathroom or wet bar.
- Install ductwork or extend the HVAC system so the new rooms stay comfortable. Properly insulating and sealing these utility gaps ensures the structural integrity needed when you eventually prepare walls for painting.
Have each rough-in inspected before insulation and drywall go up.
Basement Finishing Timeline and Budget Decisions
A typical basement finish moves in phases: planning and permits, moisture work, framing, rough-in for utilities, inspection, insulation, drywall, and finishes. Each phase depends on the one before it, so delays early on push everything back. The practical value of a timeline is not the phase names, it is knowing which decisions must be locked before the next trade arrives.
Order of Operations and Decision Checkpoints
- Moisture diagnosis and remediation. Decide on drainage, sealing, or dehumidification before framing. If you skip this, you risk trapping moisture behind finished walls.
- Layout and egress planning. Lock room sizes, bathroom location, and egress window placement before framing. Moving a bathroom drain or an egress opening later is expensive.
- Permits and inspections schedule. Submit plans and confirm inspection stages before rough-in begins.
- Framing. Build walls, soffits, and chases. Decide now where you will leave access panels for shutoffs, cleanouts, and the electrical panel.
- Rough-in: electrical, plumbing, HVAC. All three must be complete and inspected before insulation. Decide fixture locations, outlet and lighting layout, and whether you are extending existing HVAC or adding a separate system.
- Insulation and vapor retarder. Use moisture-tolerant assemblies below grade and confirm the inspector's expectations before drywall.
- Drywall, taping, and primer. Hang, finish, and prime before trim and flooring.
- Finishes: flooring, trim, doors, paint, fixtures. Flooring goes in after drywall dust is gone.
- Final inspection and punch list. Alarms, fixtures, and egress must be complete.
How the Budget Breaks Down
Basement finishing costs are driven by square footage, ceiling height constraints, the number of rooms and plumbing fixtures, egress requirements, and whether you extend existing mechanical systems or add new ones. Rather than quote a single number, build your budget by category and get itemized bids:
- Moisture remediation and waterproofing, varies widely with the diagnosis; get this priced separately so you can compare bids.
- Framing and drywall, driven by wall length, ceiling height, and soffit complexity.
- Electrical, circuit count, lighting plan, and whether the panel has capacity for added load.
Ask each bidder to separate labor, materials, and allowances, and to state what is excluded. A bid that lumps everything into one number is hard to compare and easy to inflate later through change orders.
DIY Versus Contractor Tradeoffs
Some tasks are reasonable for a capable homeowner: demolition, insulation board installation, painting, and trim.
Pricing depends on the scope, materials chosen, and site conditions, so ask Basements.com for a project-specific quote rather than relying on generic figures. Our Pricing Estimator can give a starting point for planning.
Best for: homeowners who want a clear phase-by-phase plan with decision checkpoints. Skip if: you plan to finish the space without any permits or inspections.
The table below lays out the finishing phases in order, with the decision that must be locked before each one.
| Phase | Lock before starting | Why it matters |
|---|---|---|
| Moisture diagnosis and remediation | Drainage, sealing or dehumidification plan | Avoids trapping moisture behind finished walls |
| Layout and egress planning | Room sizes, bathroom location, egress window placement | Moving drains or egress openings later is expensive |
| Permits and inspections schedule | Submitted plans and confirmed inspection stages | Sets the timing of every later trade |
| Framing | Access panels for shutoffs, cleanouts, electrical panel | Keeps critical components reachable |
| Rough-in: electrical, plumbing, HVAC | Fixture, outlet, lighting and HVAC layout | All three must pass inspection before insulation |
| Insulation and vapor retarder | Moisture-tolerant assembly and inspector expectations | Required before drywall goes up |
| Drywall, taping and primer | Completed, inspected rough-ins | Must finish before trim and flooring |
| Finishes and final inspection | Flooring, trim, doors, paint, fixtures, alarms | Final inspection needs alarms and egress complete |
Booking Your Basement Project With Basements.com
Knowing how to finish an unfinished basement well involves many moving parts, and a mistake in one phase is costly later. Basements.com is a Colorado State Certified and fully insured general contractor with more than 25 years of experience, offering full-service project management from initial design through final inspection.
Ready to plan your project? request a free estimate to start, or contact our team for a custom quote and consultation.
Frequently Asked Questions
Do you need a permit to finish a basement?
In most US jurisdictions, yes. Finishing a basement usually requires a building permit for work that involves framing, electrical, plumbing or egress windows. Permit requirements vary by city and county, so check with your local building department before starting. Inspections typically occur at rough-in stages, before insulation and drywall are installed, and at final. Skipping permits can cause problems when you sell the home or file an insurance claim, so confirm requirements early in your planning.
How long does it take to finish an unfinished basement?
A typical basement finish takes several weeks to a few months, depending on scope. Planning, permitting and inspection scheduling often take the first several weeks. Framing, insulation, drywall, electrical and flooring follow in sequence, and a bathroom adds more time. Smaller projects with one open room move faster than full-level layouts. Build in buffer time for inspection waits and material delivery to keep the schedule realistic.
How do I insulate basement walls?
Insulation for basement walls must manage moisture as well as temperature. Many installers use rigid foam board against the foundation wall, sealed at the seams, with a framed wall and batt insulation inside. Foam board should be installed over a dry, sealed wall, since trapped moisture can cause mold. Check your local energy code for required R-values, and confirm that your moisture assessment is complete before insulating.
What should you do before finishing a basement?
Start with a moisture and structural inspection. Look for water stains, efflorescence, cracks and musty odors, and address any water intrusion through grading, gutters, sump pumps or waterproofing first. Then draft a room layout, confirm egress requirements for any bedroom, and apply for permits. Finishing over an active moisture problem almost always leads to damaged materials and mold, so resolve water issues before framing.