 How-to
How to Fix Basement Moisture Before Remodeling
Last Updated: November 21, 2026
Quick Summary
To fix basement moisture before remodeling, find and repair the water source first, then correct exterior drainage like gutters, downspouts, and grading. Only remodel once the basement has stayed dry through at least one full wet season and humidity holds between 30 and 50 percent.
- Sealer hides a symptom; it doesn't stop water from entering the basement.
- Water hours after rain usually means groundwater; water during the storm points to roof or grading.
- Tape a 12-inch plastic square to a wall for 24 to 48 hours to test for moisture.
- Keep wood studs off the concrete and use moisture-resistant drywall or panels below grade.
- Run a floor vapor barrier up the wall a few inches and seal the wall-floor seam.
Table of Contents
- What Causes Moisture in a Basement?
- Why Basement Moisture Shows Up After Rain
- How to Keep a Basement Dry Without a Dehumidifier
- Choosing and Installing a Basement Moisture Barrier
- The Readiness Checklist: When It's Safe to Remodel
- Schedule a Moisture Assessment Before You Finish
- Frequently Asked Questions
What Causes Moisture in a Basement?
Water in a basement almost always comes from one of four sources: groundwater pushing through the foundation, rainwater running toward the house, plumbing leaks, or condensation from humid air. Finding the source is the first step in any plan to fix basement moisture before remodeling.
Most homeowners start with the wrong fix: painting sealer on the wall, then wondering why water returns within a season.
A damp basement usually points to one of these causes:
- Groundwater and soil saturation. Wet soil pushes water against the foundation walls, a force called hydrostatic pressure.
- Foundation cracks. Even hairline cracks in poured concrete let water seep through.
- Roof water. Clogged gutters and short downspouts dump rainwater right next to the foundation.
Condensation forms when humid air touches a cold surface like a basement wall or floor. It's easy to confuse with a leak, but the fix is different.
If you want a deeper walkthrough of each cause and the repair, our guide on how to fix basement moisture problems step by step covers the full process.
Why Basement Moisture Shows Up After Rain
Rain exposes every weak point in a basement's defenses.
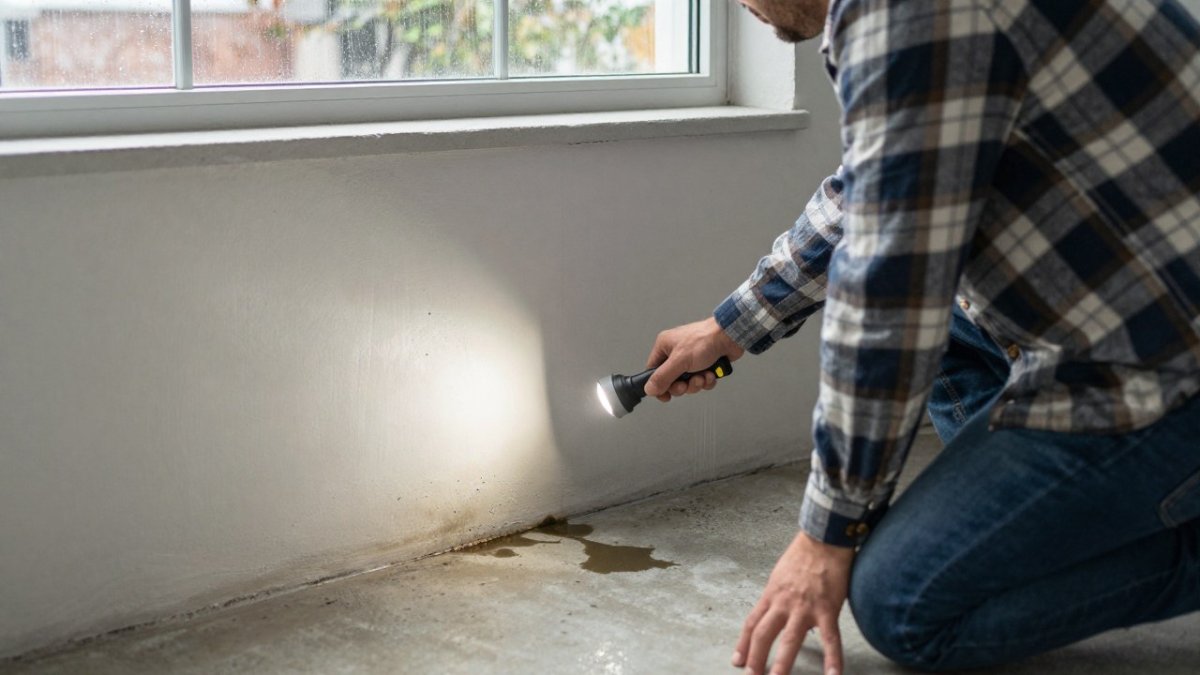
The clues show up fast. Watch for these after a heavy rain:
- Water pooling along the base of the wall or in the floor seam
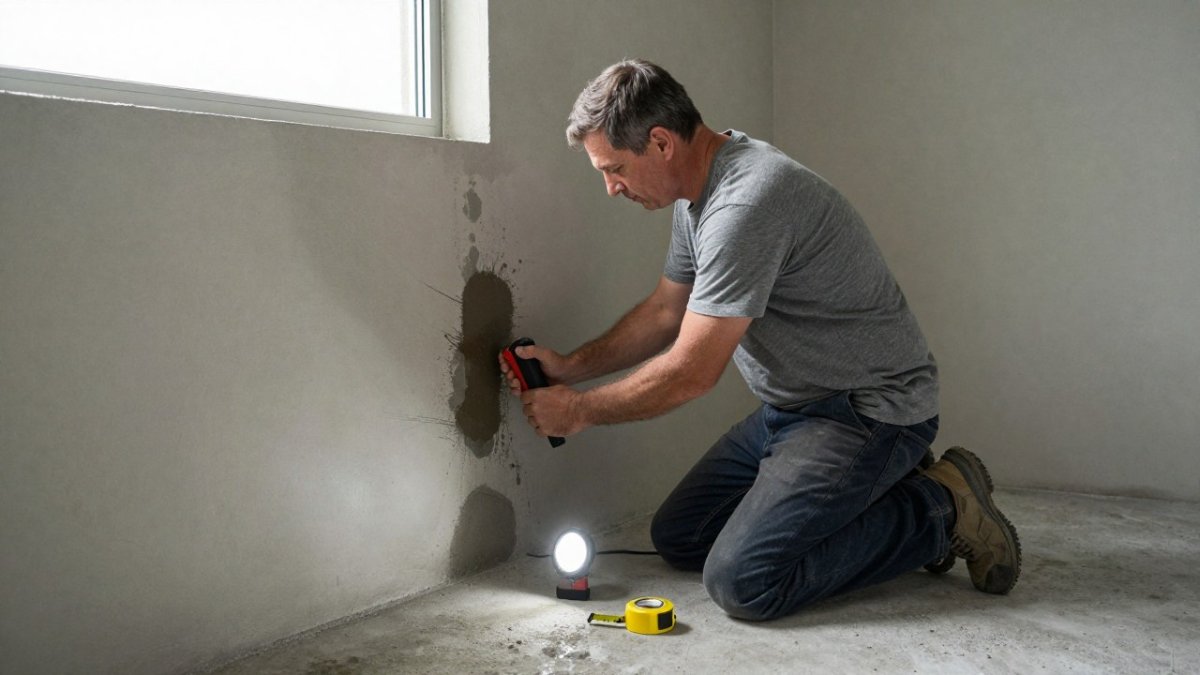
- Dark, damp patches on the foundation wall
- A musty odor that gets stronger in wet weather
If moisture only appears after storms, the cause is almost always outside, good news, since drainage and grading fixes usually solve it before you pay for interior repairs.
Timing matters: water hours after rain often means groundwater; water during the storm may be roof or grading; water on dry days points to condensation or a plumbing leak.
How to Keep a Basement Dry Without a Dehumidifier
You can keep a basement dry without a dehumidifier by stopping water at the source and improving airflow. A dehumidifier treats the air.
Start outside, where most moisture problems begin.
- Clean the gutters. Clogged gutters overflow and soak the soil next to the foundation.
- Extend the downspouts. Run them several feet away from the house so roof water lands away from the walls.
- Regrade the soil. The ground should slope away from the foundation on every side.
- Seal visible cracks. Use a proper masonry sealant on foundation cracks, not paint.
- Move plants and mulch back. Soil and mulch piled against the wall trap moisture.
- Open the air. Keep vents clear and run a fan to keep air moving. Stale, humid air feeds mold.
A common mistake is sealing the inside first. That traps water in the concrete and can worsen the problem.
To test for condensation, tape a small square of plastic to the wall and check after a day.
Choosing and Installing a Basement Moisture Barrier
A basement moisture barrier is a vapor barrier that keeps ground moisture and humid air away from the finished wall.
There are two main approaches, and they work in different ways:
| Barrier Type | Where It Goes | Best For | Watch Out For |
|---|---|---|---|
| Exterior waterproof membrane | Outside the foundation wall | Stopping groundwater and hydrostatic pressure | Requires digging; best done during new construction or major work |
| Interior vapor barrier | Inside, over the wall or floor | Managing humidity and interior moisture | Traps water if the wall already leaks |
| Interior coating or sealer | Painted on the inside wall | Minor seepage and dampness | Not a fix for active leaks or pressure |
The rule is simple. Stop the water outside first. Then add an interior barrier to control humidity.
An interior barrier must be installed correctly.
If you install a vapor barrier over a wall that still leaks, you hide the problem and create a mold pocket.
Test Before You Enclose
Before any interior barrier goes up, run a simple plastic-sheet test on each wall you plan to finish. Tape a 12-inch square of clear polyethylene to the concrete with all four edges sealed, leave it for 24 to 48 hours, and read the result:
- Moisture on the room side of the plastic. The wall is dry and the air is humid. Fix ventilation and dehumidification, not the wall.
- Moisture behind the plastic, against the concrete. Water is moving through the wall. Stop the exterior source before you install any interior barrier.
- No moisture either side. The wall is a candidate for an interior barrier, provided the exterior drainage work is already done.
Repeat the test after heavy rain, not just on a dry day. A wall that passes in July can fail in April.
Assembly Sequencing That Works
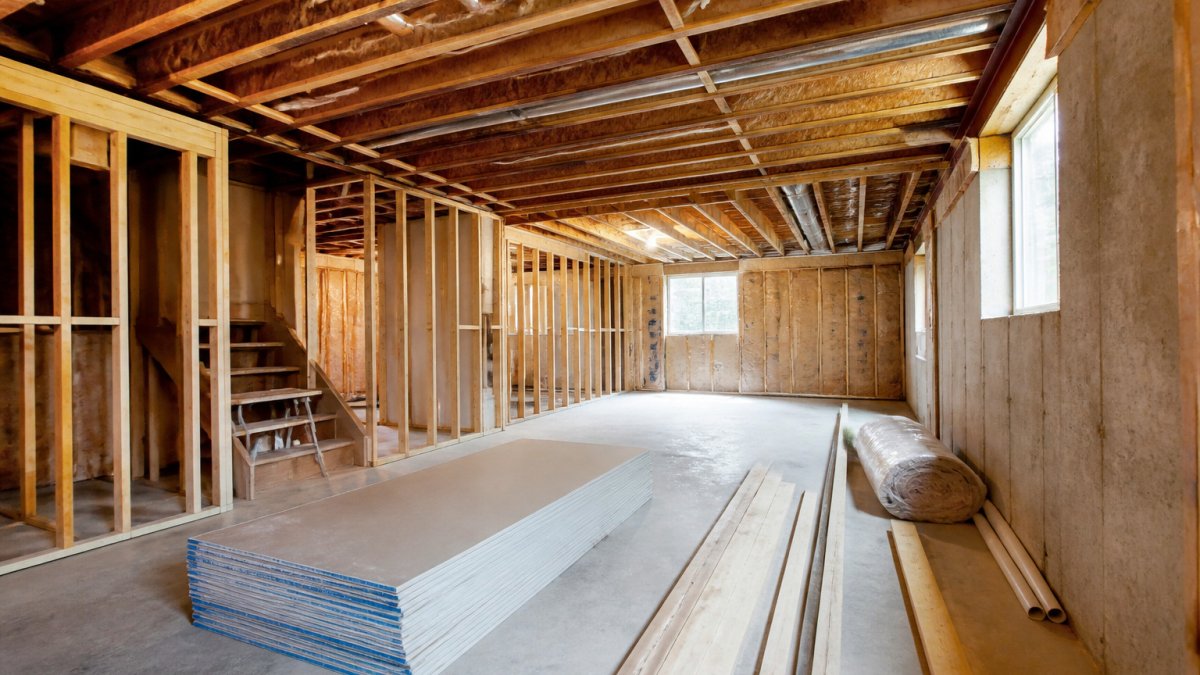
A moisture-resistant wall assembly is built in layers, each with a job. A common pattern for a below-grade wall:
- Exterior drainage first. Grading, gutters, downspout extensions, and a footing drain or exterior membrane handle bulk water. Nothing inside the wall compensates for a wet exterior.
- Rigid foam insulation against the concrete. Closed-cell foam board taped at the seams acts as both insulation and a capillary break. It keeps the warm, humid interior air from touching the cold concrete, which is where condensation forms.
- Framing set off the wall. Wood studs should not sit directly against concrete. A gap or a foam layer between the stud and the wall lets the assembly dry and keeps the wood out of any residual dampness.
- Vapor control appropriate to the assembly. In a below-grade wall, the goal is to keep interior humidity out of the cavity while letting the concrete dry to the inside if it gets wet. A sheet vapor barrier stapled to the face of the studs, sealed at laps and penetrations, is the common approach; some assemblies use a semi-permeable membrane instead. The choice depends on your climate and the wall's drying direction, which is why a local assessment matters.
- Moisture-resistant drywall or panel. Paper-faced standard drywall is the wrong product below grade. Use moisture-resistant gypsum board or a cement or fiber-cement panel, and keep it off the floor by at least half an inch.
Floor Barriers and the Wall-Floor Seam
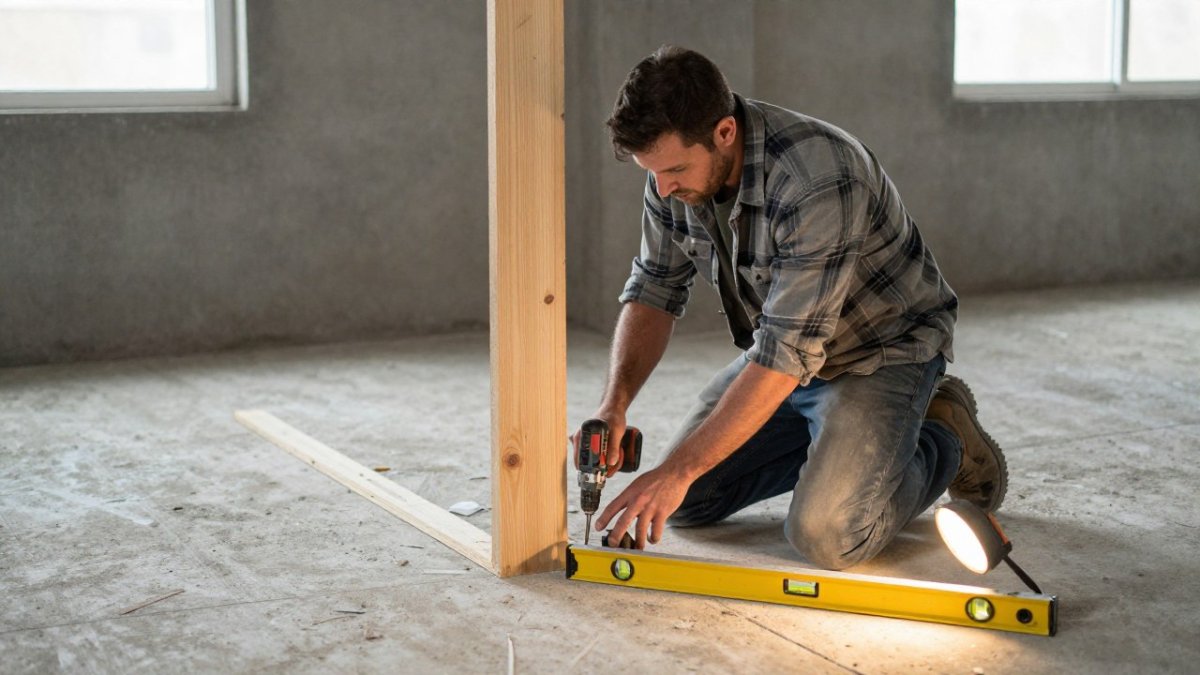
The wall-floor seam is the most common leak path in a basement and where floor barriers fail. Run a floor vapor barrier up the wall a few inches and seal it to the wall membrane or foam with compatible adhesive or tape.
For a concrete floor that sweats, a coating or densifier can reduce surface moisture but does not stop vapor drive from below. A continuous sheet vapor barrier under the finished floor is more reliable.
Common Installation Failures
- Barrier over a wet wall. The most expensive mistake. The barrier hides the leak, mold grows in the cavity, and the only fix is tear-out.
- Unsealed laps and penetrations. A vapor barrier is only as good as its seams. Tape every lap, and seal around pipes, outlets, and framing penetrations.
- Barrier on the wrong side. In a below-grade wall, a barrier placed on the cold side traps moisture in the assembly. Follow the assembly design, not a generic rule of thumb.
If you want a deeper walkthrough of each cause and the repair, our guide on how to fix basement moisture problems step by step covers the full process.
The Readiness Checklist: When It's Safe to Remodel
It's safe to remodel when the basement has stayed dry through at least one full wet season, the moisture source is fixed, and humidity stays in a normal range.
Use this checklist before you frame a single wall:
- The water source has been found and repaired
- The basement stayed dry through a full rainy season
- Foundation cracks are sealed and grading slopes away from the house
Hidden moisture has real consequences: trapped damp grows mold behind drywall, rots framing, ruins insulation, and can affect indoor air quality and trigger allergies. That's why the checklist matters more than the finish work.
Measurable Readiness Criteria
A visual inspection is not a readiness test. Before you enclose a wall, verify dryness with numbers you can record and compare over time:
- Relative humidity. Keep the basement between 30 and 50 percent relative humidity for at least two weeks before framing. A hygrometer costs little and gives you a number you can log.
- Moisture meter readings. Take pin-type or pinless readings on the concrete walls and floor in several spots, including the wall-floor seam and any previously damp areas. Record the readings and the date. A wall that reads consistently dry across two or three visits, including after a rain, is a candidate for finishing.
- Plastic-sheet test. Tape a 12-inch square of polyethylene to each wall for 24 to 48 hours. Moisture behind the plastic means water is still moving through the wall; moisture on the room side means the air is humid. Neither result is a green light for enclosing the wall.
The Monitoring Period
A one-time inspection is not enough. Set a monitoring period of at least one full wet season, and log the following:
- Humidity readings weekly, and after every significant rain
- Any new damp spots, stains, or efflorescence
- Gutter and downspout performance during storms
A simple notebook or spreadsheet is enough. The point is a record you can compare against.
Health and Safety Before You Enclose
Mold and hidden moisture are not just a construction problem. If you see more than a small patch of mold, or if the musty odor persists after the source is fixed, have the area assessed before you cover it. Porous materials that have been wet, such as drywall, insulation, and wood framing, may need removal rather than drying in place.
Permits, Warranties, and Contractor Questions
Before work starts, confirm whether your jurisdiction requires a permit for the scope you are planning. Finishing a basement typically involves electrical, plumbing, and framing work that is inspected, and unpermitted work can complicate resale and insurance. Ask your contractor for:
- A written scope that names the moisture repairs and the finishing work separately
- The warranty terms for both the waterproofing and the finish work, including what voids them
- Proof of insurance and licensing
This is where a professional assessment earns its keep. Basements.com is a Colorado State Certified and fully insured general contractor with 25+ years of experience in finishing basements.
Post-Repair Prevention Checklist
After the repairs are done and before the remodel begins, confirm the following:
- Gutters are clean and downspouts discharge several feet from the foundation
- Soil slopes away from the house on every side
- The sump pump runs and has a backup power source if the area is prone to outages
A basement that passes these checks is ready for the next phase. One that fails any of them is not, no matter how good the finish work looks.
Schedule a Moisture Assessment Before You Finish
A moisture assessment answers one question: is this basement ready to finish?
A proper assessment looks at the whole picture:
- Wall and floor moisture readings
- Grading and drainage around the foundation
- Gutter and downspout performance
Get the moisture fixed first. Then plan the remodel. That order protects your investment and keeps the finished space dry for years.
If you're ready to move forward, request a free estimate and get a clear picture of what your project involves. You can also reach our team through the contact form to ask questions and set up a consultation.
Basements.com is a Colorado State Certified and fully insured general contractor with 25+ years of experience.
Water in a basement doesn't fix itself, and finishing over it only hides the problem until it gets expensive.
Frequently Asked Questions
How much does it cost to fix moisture in a basement?
Cost depends on the source and on the scope of work. Pricing for a moisture assessment or repair depends on the specific conditions of each basement, so contact Basements.com for a current quote.
Is 70% humidity too high for a basement?
Yes. Indoor relative humidity above roughly 60% gives mold and dust mites the conditions they need, and 70% is high enough that you will often smell a musty odor. A hygrometer costs little and tells you whether the problem is air moisture or a wet wall. If humidity stays high even after you seal cracks and redirect gutters, the moisture is likely coming through the foundation or floor rather than sitting in the air.
How long should you wait to remodel after fixing basement moisture?
Wait until the basement has stayed dry through at least one heavy rain cycle and humidity readings hold steady in the normal range. Rushing the remodel traps moisture behind new framing and drywall, where it feeds mold and ruins insulation. A moisture barrier and a documented dry period protect the investment you are about to make.
What should go on basement walls to keep moisture out?
The right basement moisture barrier depends on whether the wall is poured concrete, block, or stone. Interior coatings and dimple mats can manage vapor and minor seepage, but they do not stop active water intrusion. Fix the source first: seal foundation cracks, correct grading, and extend downspouts. Then install a vapor barrier suited to your wall assembly. A contractor can confirm which product works with your walls and local code before framing goes up.